“Light Leaks” is the name we give to this popular kind of “accident”, which happens when there is a gap or hole between the lens and the camera body, so light can get in, meaning that the sensor is forced to process unintended light. Why do I label it as an “accident”? Because despite being indeed an undesired effect, many photographers tend to use this technique as another creative resource within their compositions.
Today we’re going to show you how to create a light leak effect with the help of presets for Adobe Lightroom.
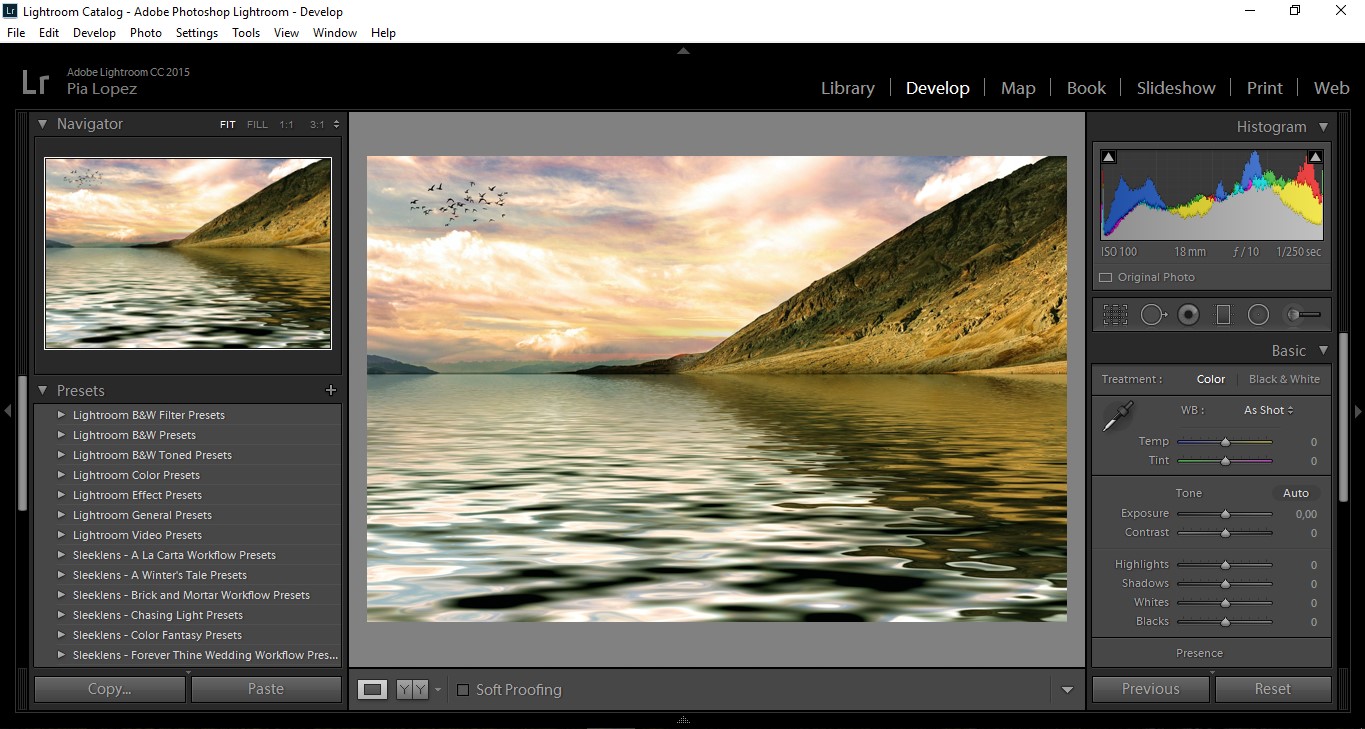
Consider the image as already processed within Lightroom; then we have two options:
-
Using the Graduated Filter tool and creating our own Light Leak effect – Such effect should have strong Exposure values, increased Temp or Tint (values around 100), somewhat increased Contrast and decreased Clarity
-
Using Lightroom presets, such as the bundle Forgotten Postcards Workflow by Sleeklens – it includes some interesting looking Light Leak presets, which can also be modified to match our desired effect.
In my case, I’m going to apply the preset “Light Leaks 9”, and as you can see, two Graduated Filter effects will show up, also displaying their control points.

Tweak those effects if you feel up to it, and then let’s compare the original image with the final result.
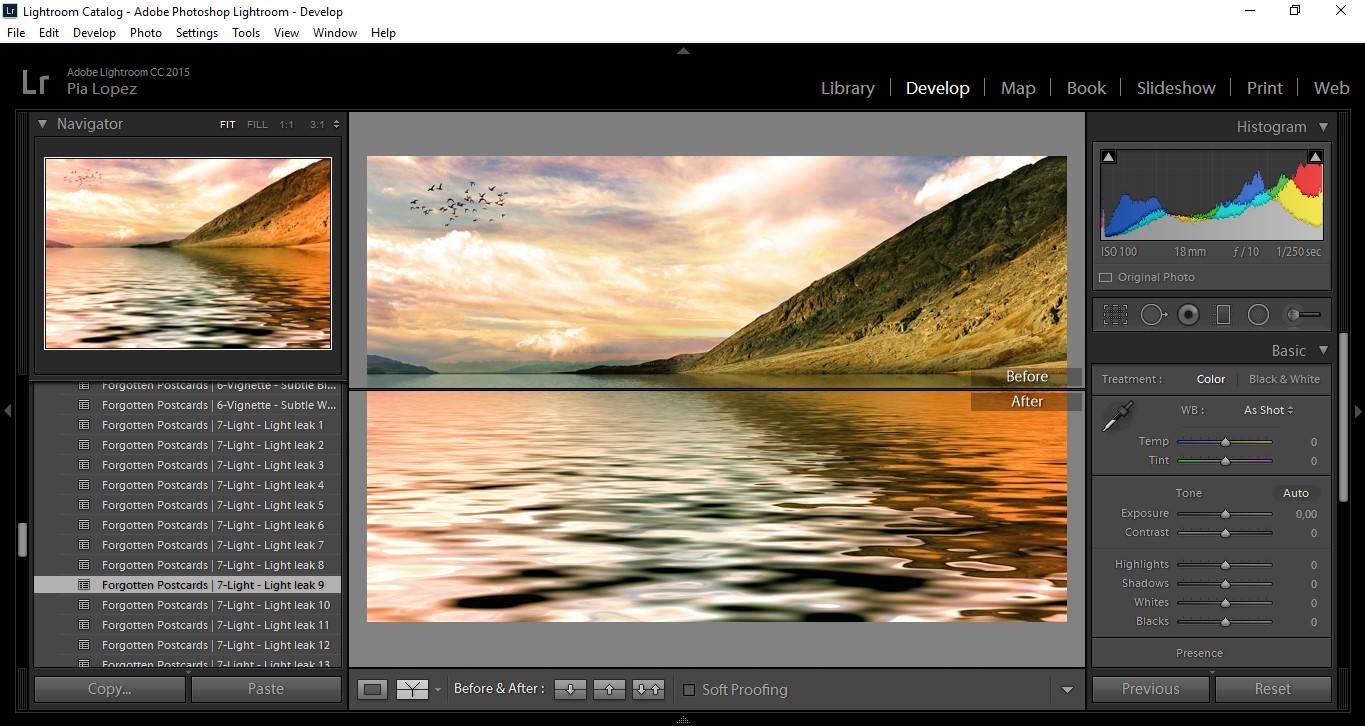
As you can see, a notorious pink/orange tint is now part of our composition, increasing that “sunset feeling” that many times we desire to achieve in a short while.

Consider Light Leaks as a quick, creative way of making your images stand out of the common standard of photographs; and remember: Inspiration and creativity will craft your way to become an accomplished professional. Good luck and keep editing!